

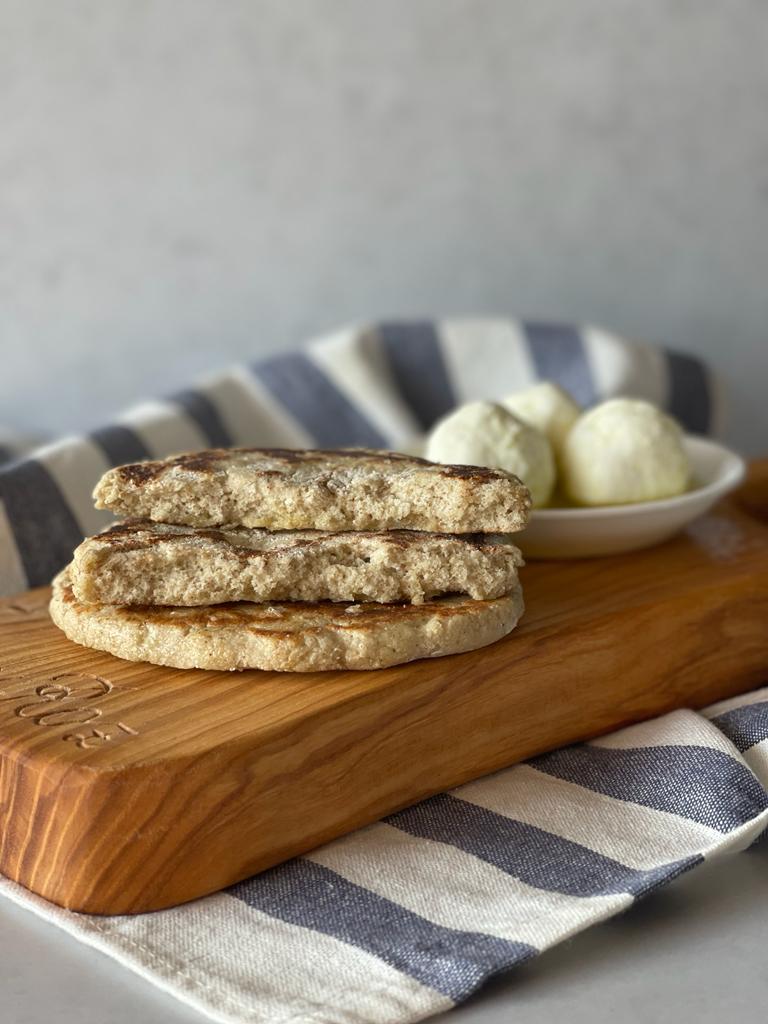
Buckwheat Pita Bread. image: Essy Roz

Buckwheat Pita Bread. image: Essy Roz
This is a recipe that has only been online for four days and it has already made a lot of people happy.
I felt it needed a stage,
A stage right here – in its house,
A stage of love.
Last weekend I received messages from you,
The women who became very happy thanks to this recipe.
It accompanied them on a field trip and they all enjoyed wonderful pitas and didn’t feel the difference.
It celebrated birthdays and made everyone’s hearts happy.
It made breakfast / lunch / dinner a pampering and good meal.
And it just was itself-
Contagious with joy,
fills with happiness,
And with the most amazing texture.
This is a recipe that was born in my head after I realized how much I miss such a bite.
A bite that’s so similar to the original that you can accidentally get confused.
Now it has a stage,
The stage of love.
A place of honor in the blog,
Because it’s meant to make us happy and do good to all of our hearts 🙂
Happy and exciting bite days to us all 🙂

Buckwheat Pita Bread. image: Essy Roz

Buckwheat Pita Bread. image: Essy Roz
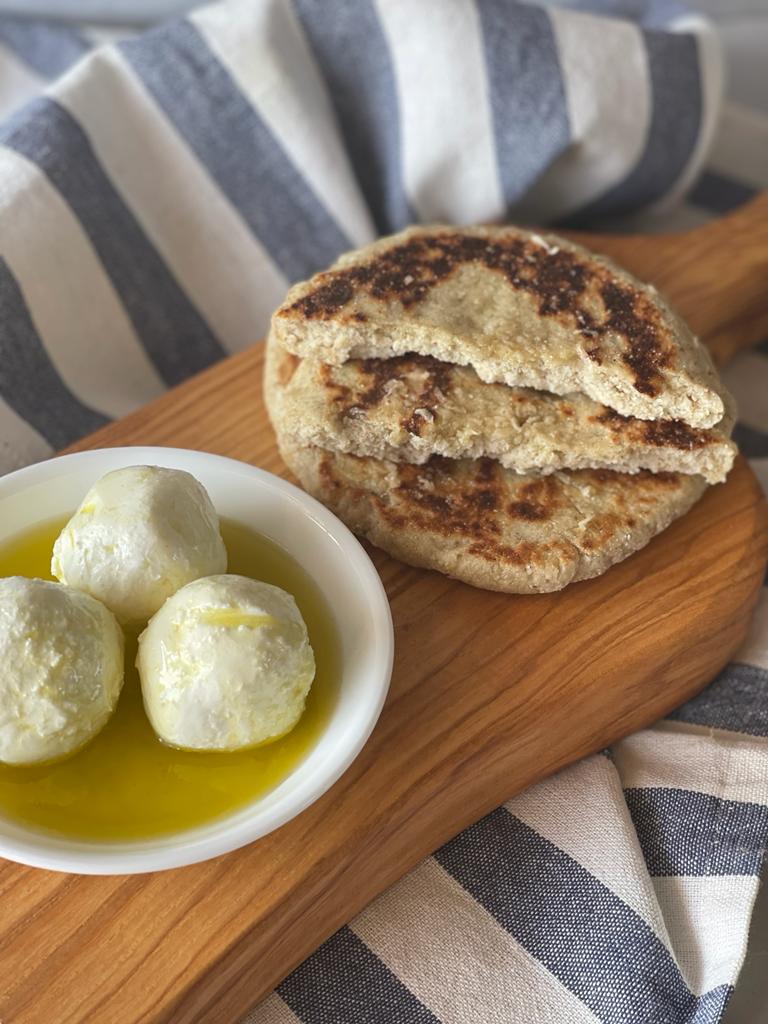
Buckwheat Pita Bread. image: Essy Roz
Buckwheat Pita Bread
Ingredients: suitable for two juicy and beautiful pitas
- ½ cup green buckwheat flour
- ½ cup thick yogurt / cheese (Such as cream cheese / sour cream cheese / heavy cream cheese / rich in proteins yogurt / buffalo yogurt / soy cheese / vegan Greek yogurt)
- ½ teaspoon baking powder
- ¼ teaspoon salt
Steps:
- In a bowl put all ingredients, the green buckwheat, yogurt / cheese, salt and baking powder, and mix everything with a spoon until you form dough crumbs.
- Continue to mix with a spoon until an elastic dough ball is formed, soft and comfortable to work with. **If your dough is too sticky, add flour and incorporate it into the dough. Do not be afraid to add flour, there will be cases where we will have to add even 5-6 tablespoons of flour, the amount of flour depends on how thick the yogurt you’ve chosen is. If your dough comes out too dry, add a little of the yogurt and incorporate it into the dough until you get a nice and soft ball of dough.
- Divide the ball of dough into two balls and squash them gently with your hands. I recommend using parchment paper – lightly flour the parchment paper, place one ball of dough on it, flour it a little, fold the other half of the parchment paper over it, and flatten it with a rolling pin or a plate. Roll out each ball to a uniform thickness, about as thick as a finger, to create a nice and juicy and not thin pita (Have a sneak peek at the pictures).
- Heat a non-stick pan to medium-high heat. It isn’t necessary to oil the pan, but if you feel it’s necessary, do so. Place the pita in the center of the pan for 30-40 seconds until it browns a little on the bottom. Turn the pita over to its other side for additional tanning on that side as well.
Put it on a serving plate and THAT’S IT 🙂
Serving suggestion: I like to brush a little olive oil, crushed garlic and salt on the pita. You can also sprinkle spices like paprika and thyme on top.
A little extra from me:
- The pitas can be served in a sealed container in the fridge for 2 days.
- You can heat the pitas in a panini press or reheat it in a pan.
- For more recipes of this style of bread, have a look at my yogurt bread recipe, there are options for using additional and good flours. Click here to view the recipe.
- Click here to see how to grind green buckwheat flour at home.
How to grind green buckwheat at home 🙂

The pita ingredients in a bowl. image: Essy Roz

Mixing to form dough crumbs. image: Essy Roz

Mix to form a ball of dough. In the picture, the dough is a little sticky, so we will add flour to it until it becomes a soft and pleasant dough to work with. image: Essy Roz

In the picture, the dough is a little sticky, so we will add flour to it until it becomes a soft and pleasant dough to work with. image: Essy Roz

Our beautiful ball of dough with the right texture. image: Essy Roz

Our beautiful ball of dough with the right texture. image: Essy Roz

Flour the baking paper a little. image: Essy Roz

Place the ball of dough on the baking paper, crush it a little with your hands and flour it a little. image: Essy Roz

Rolling the ball of dough into a pita. image: Essy Roz

Our pita is ready to burn. image: Essy Roz

Heat a non-stick pan to medium-high heat. image: Essy Roz

Burning to tan both sides of the pita. image: Essy Roz

Our perfect pitas. image: Essy Roz

Buckwheat Pita Bread. image: Essy Roz

Brushing the pita with olive oil with crushed garlic and salt, there is nothing better than this!. image: Essy Roz

Buckwheat Pita Bread. image: Essy Roz

Buckwheat Pita Bread. image: Essy Roz
Buckwheat Pita Bread. image: Essy Roz


No Comments